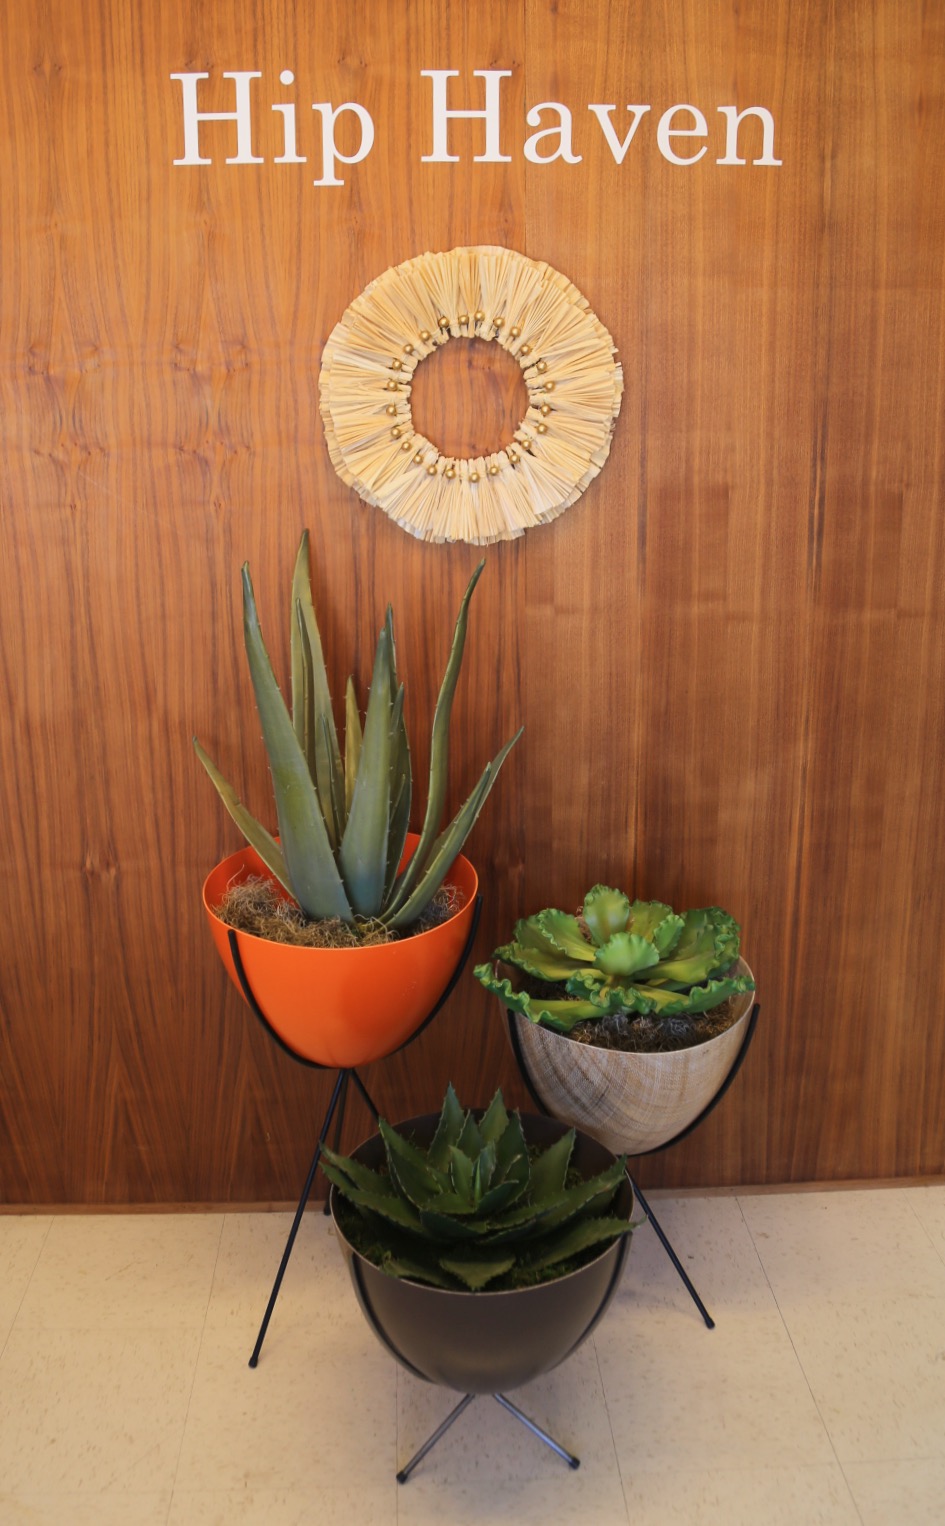
DIY Series: Harvest Themed Cornhusk Wreath
Posted by Kelley Sandidge on 5th Nov 2023
This year, every seasonal holiday is having its moment here at Hip Haven! Let's just say we're making up for lost time.
I decided to celebrate the change of season, and upcoming Thanksgiving Holiday by trying my hand at making a cornhusk wreath. Though this idea is not new, I wanted to come up with a design that would have a Danish Modern aesthetic, blending traditional methods and natural materials with a minimalist modern design. After experimenting a bit with the corn husks (which are very particular in what they will or won't do!) I found that accordion folding them into little fans, and layering them in a sunburst shape around the wreath, made a lovely design.
If you'd like to try it too, here are the materials and how-tos:
Time: This is a more involved project than most we have had on the blog, in that it requires painting and folding 50 plus corn husks. I painted the corn husks one evening and left them to dry overnight. I folded the husks into fans while watching a movie at home the next night, and glued it all together on a third day. So even though the whole project took about 3 hours and was over several days, much of that time was spent multitasking.
Materials:
corn husks (one package of tamale wrappers was enough)
12 inch wreath frame
scissors
paint (I used a layer of gold acrylic paint, but a clear acrylic varnish would work and leave it the natural color)
hot glue gun
glue sticks
gold floral wire
natural raffia (optional)
gold wooden beads
Steps:
1) First, soak the husks in warm water to soften them and make them more pliable. Pat dry.
2) Cut them in half horizontally (not all the husks will be large enough to use for this project, but there still should be plenty to make 50 or so "fans.") You will end up with half of them roughly rectangular in shape, and half shaped more like a wedge. Both work equally well for creating the little "fans."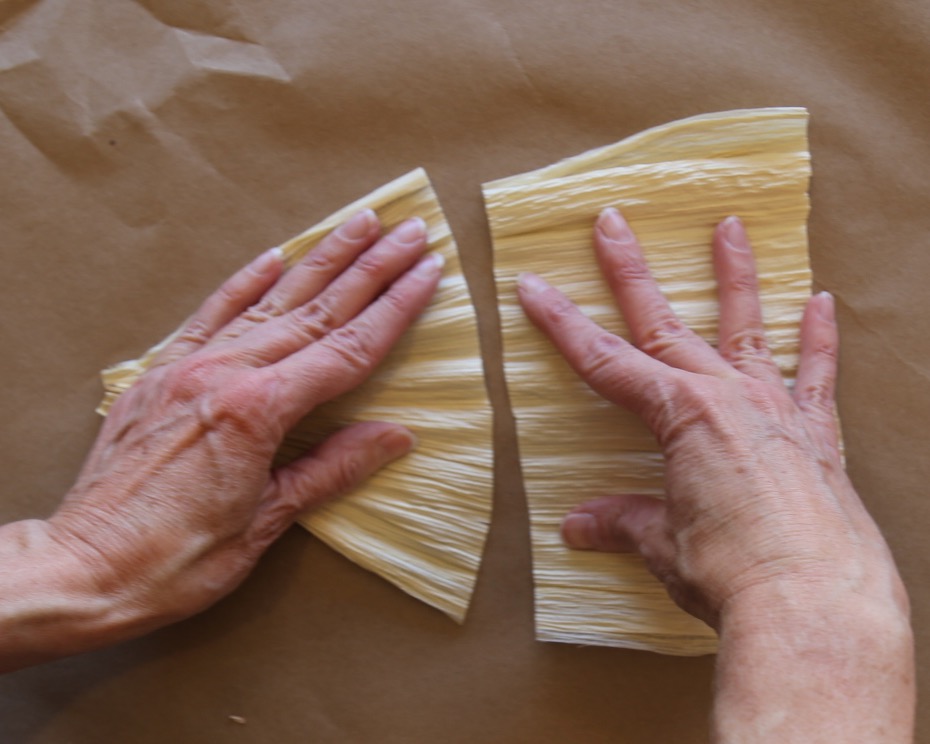
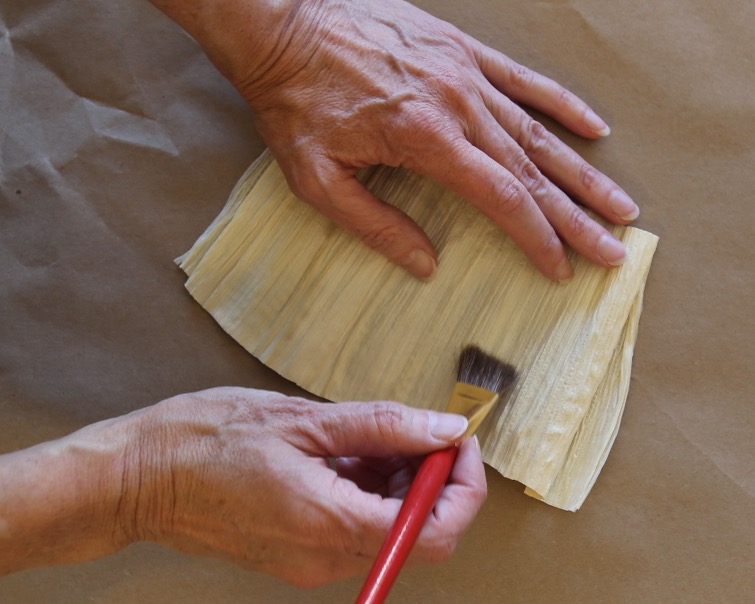
3) Paint the pieces one one side. The acrylic paint seemed to make the make them stay more pliable as they were folded into fans, and I liked the slightly metallic gold sheen, but this step could be eliminated.
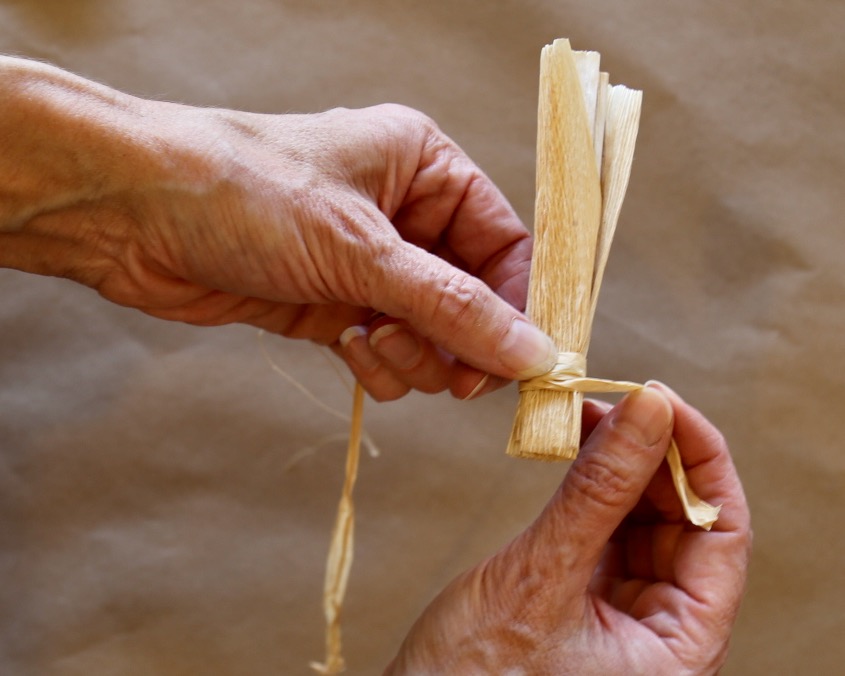
4) After the paint has dried thoroughly, accordion fold each piece and tie at the bottom with floral wire. Press the wire flat with the fan in the "open position"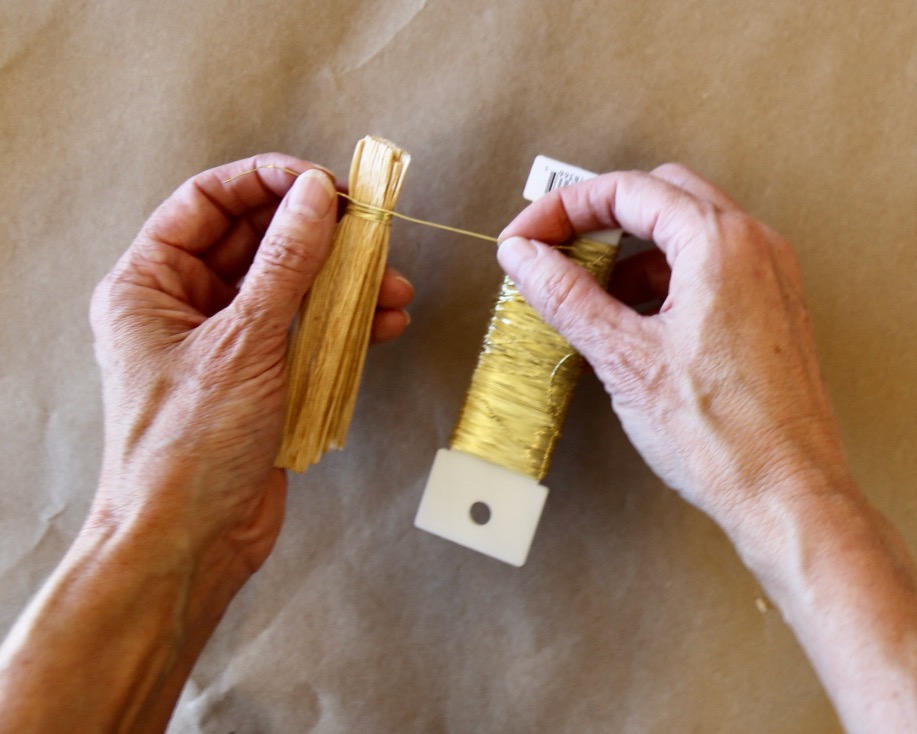
5) Separate the longer vs. shorter fans. The longer ones will be the first layer. The shorter ones will be the top layer, so cover their wire with some natural raffia ribbon to give them a more polished look. Some of the progress photos here don't show this, because it was an afterthought, but I went back and added it after the fact and liked the look.
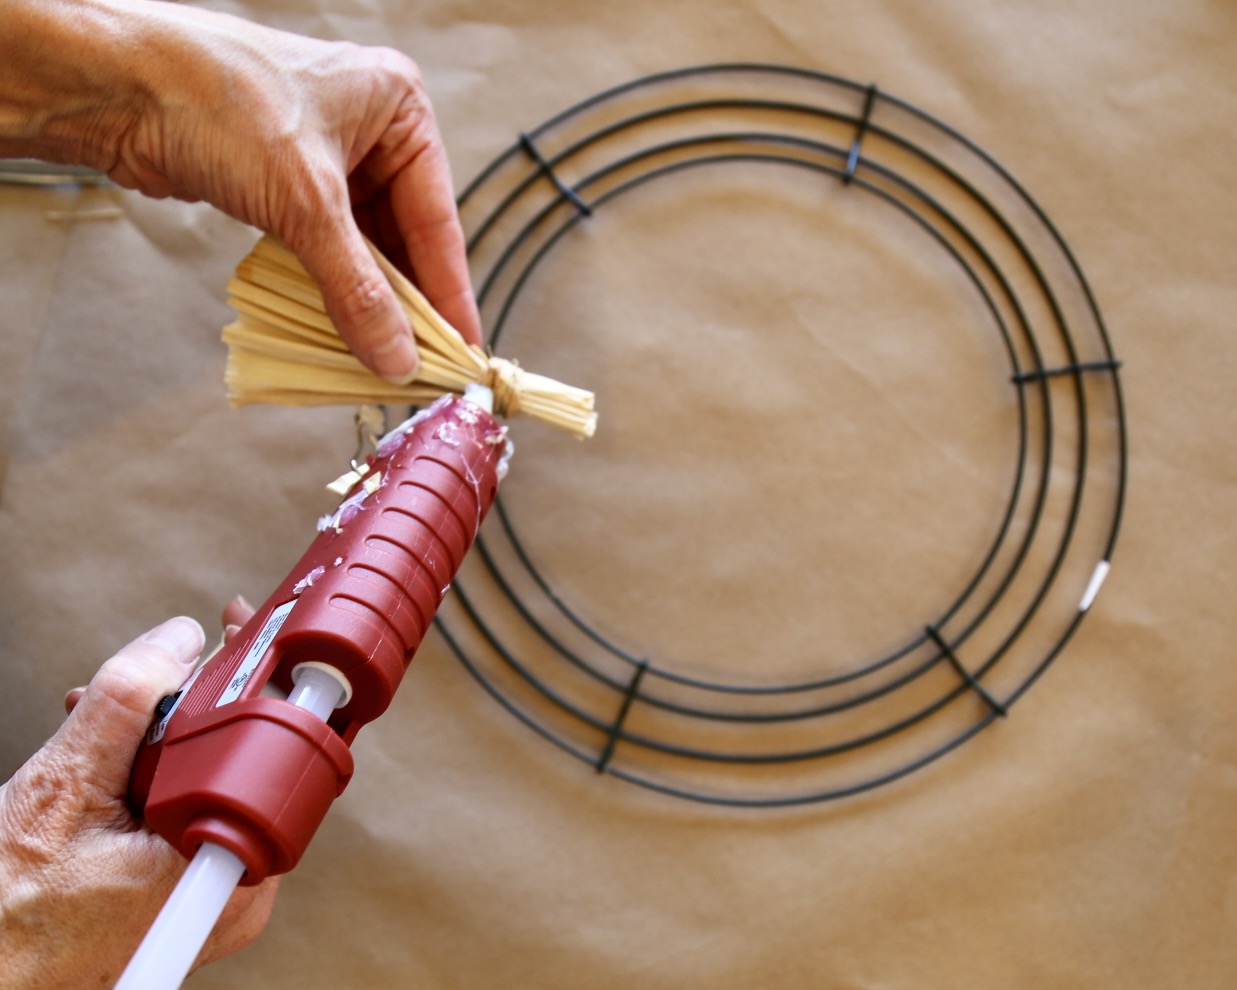
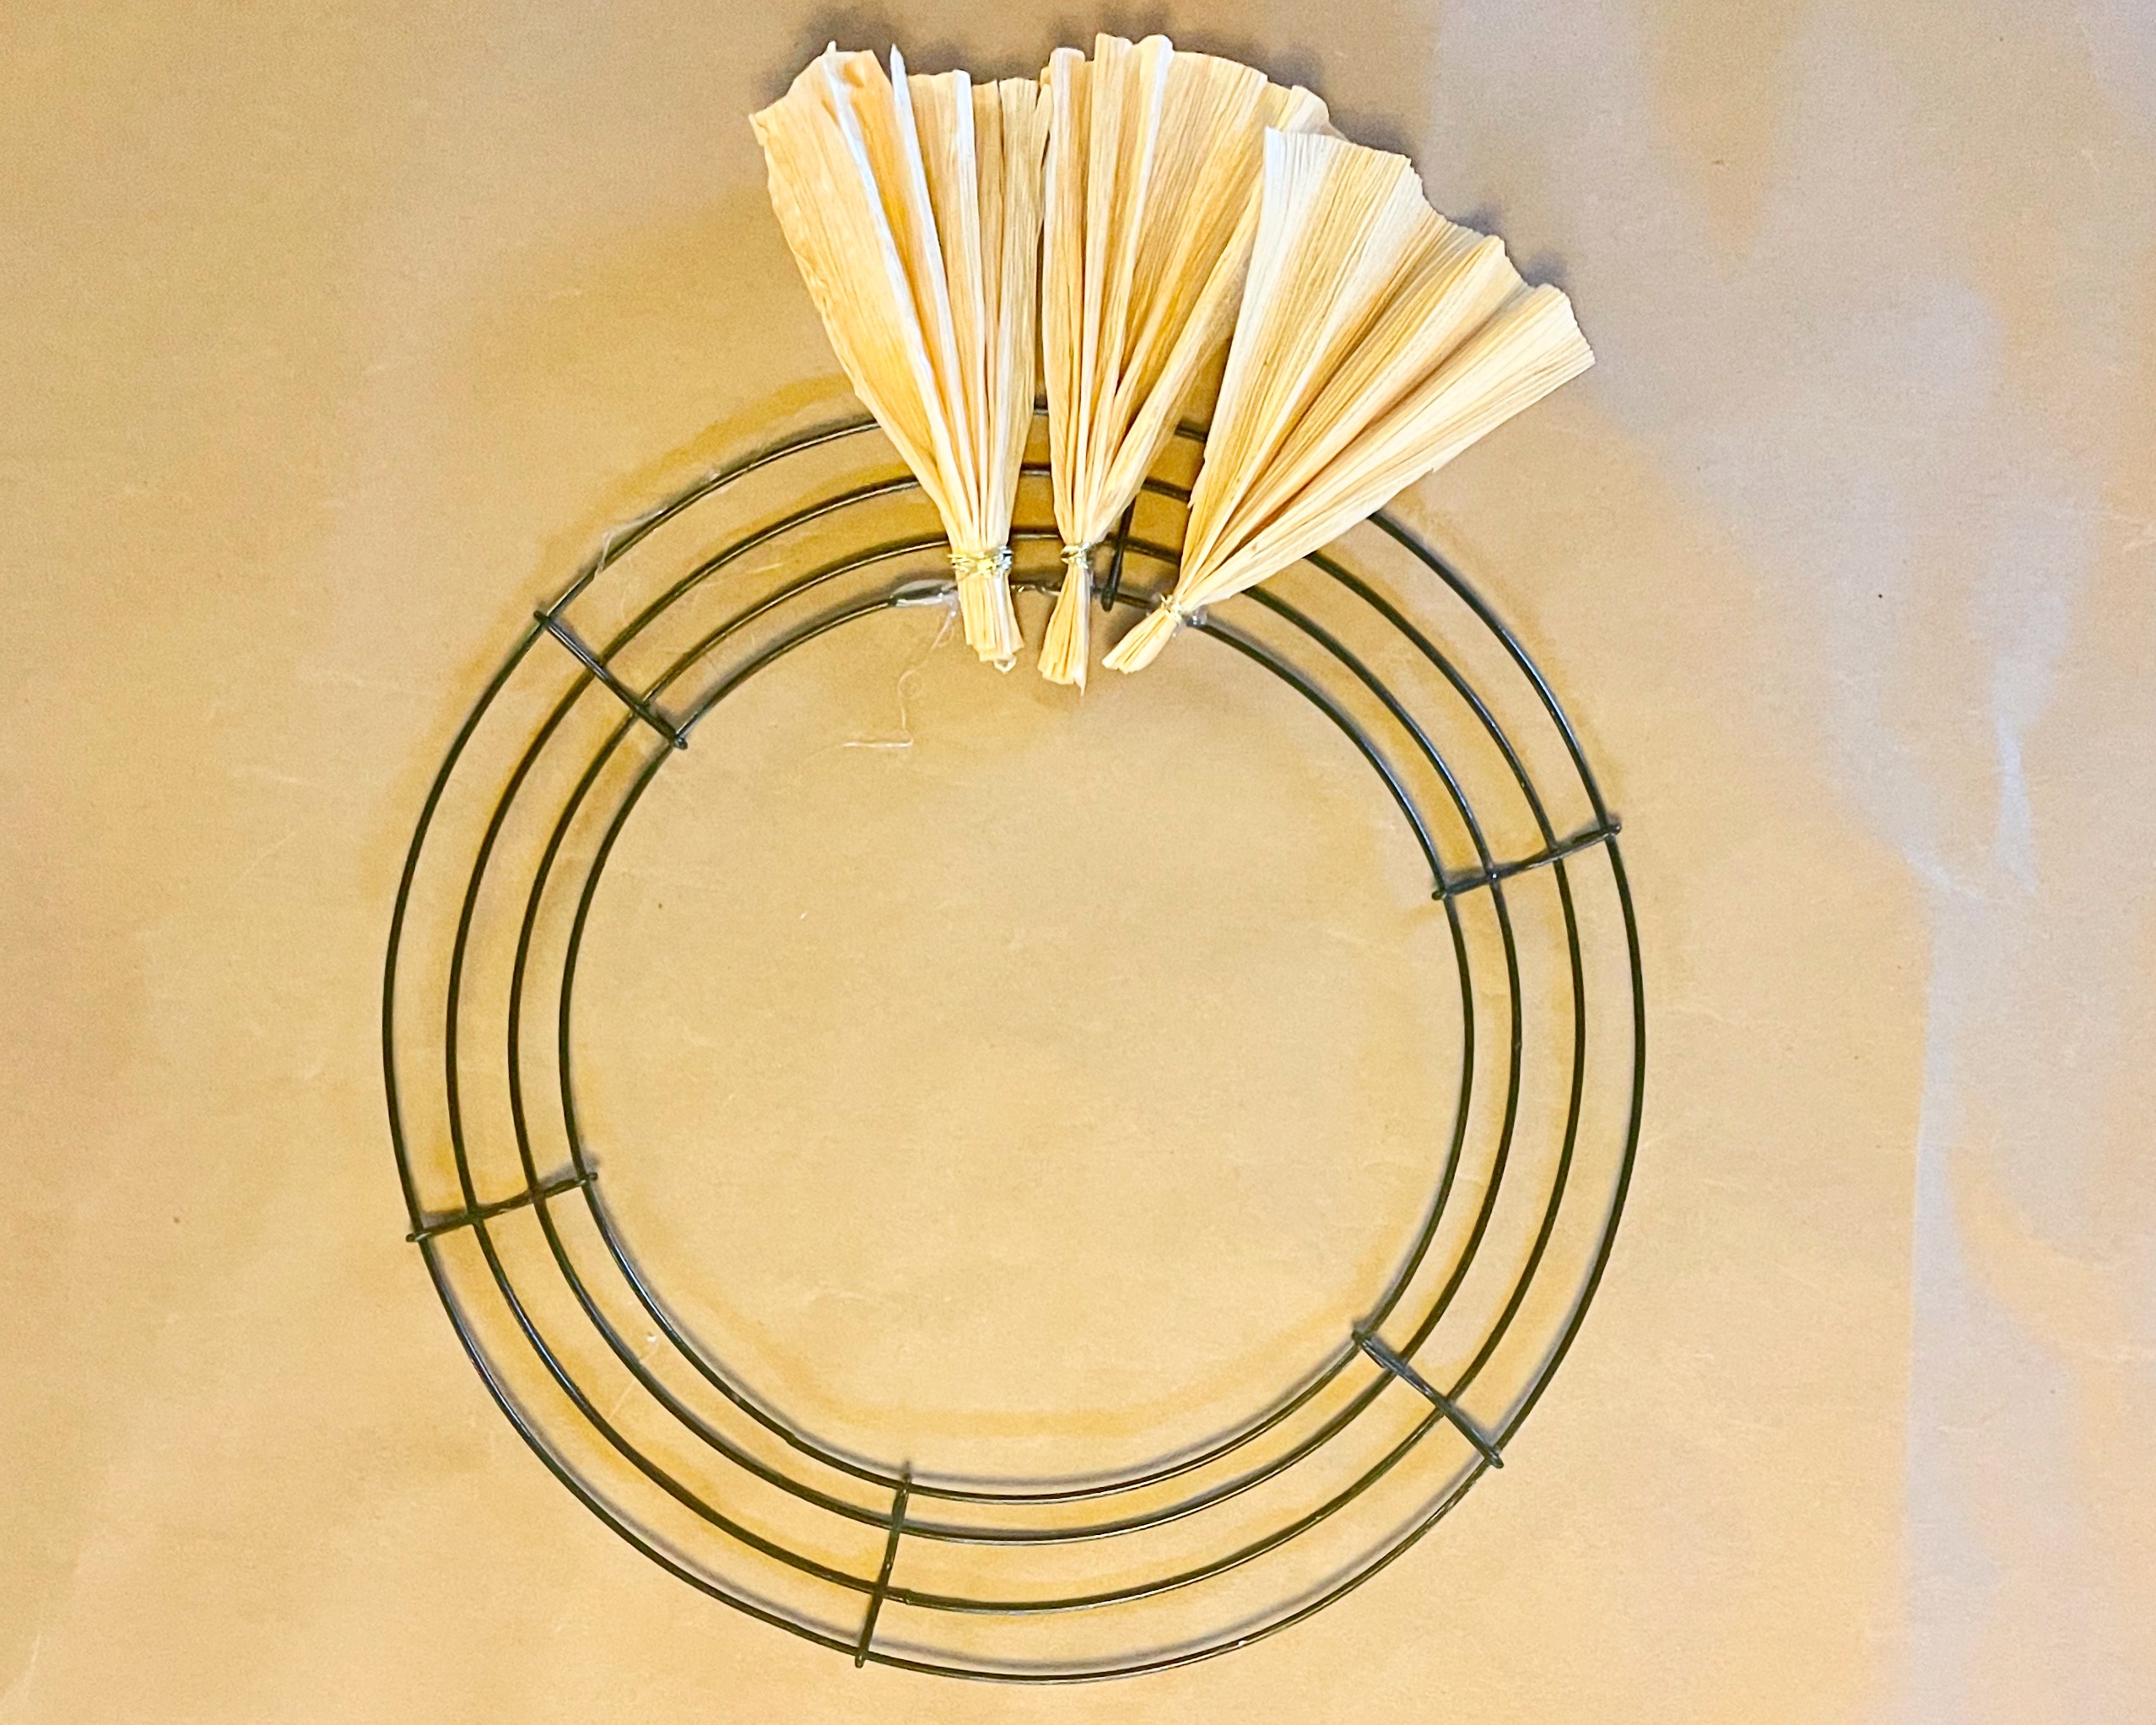
6) Use hot glue to place the first layer. Try laying them out first before gluing, to check the placement.

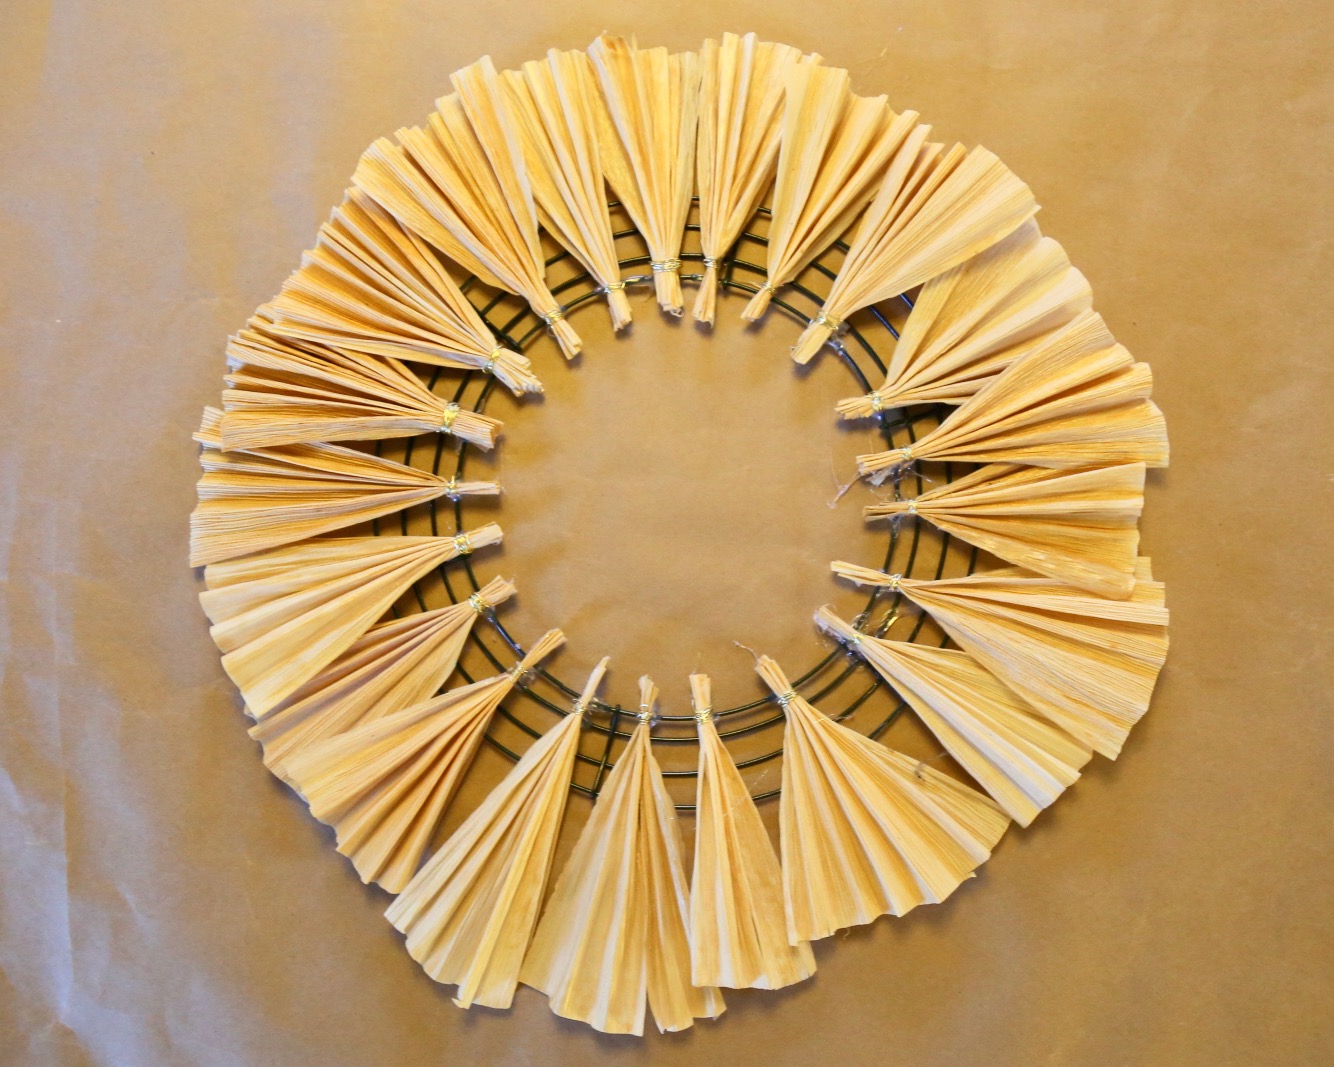
7) Add the top layer. Top layer pieces go in between the fans on the first layer to fill the space. Try to align the wired ends to create a fairly even circle.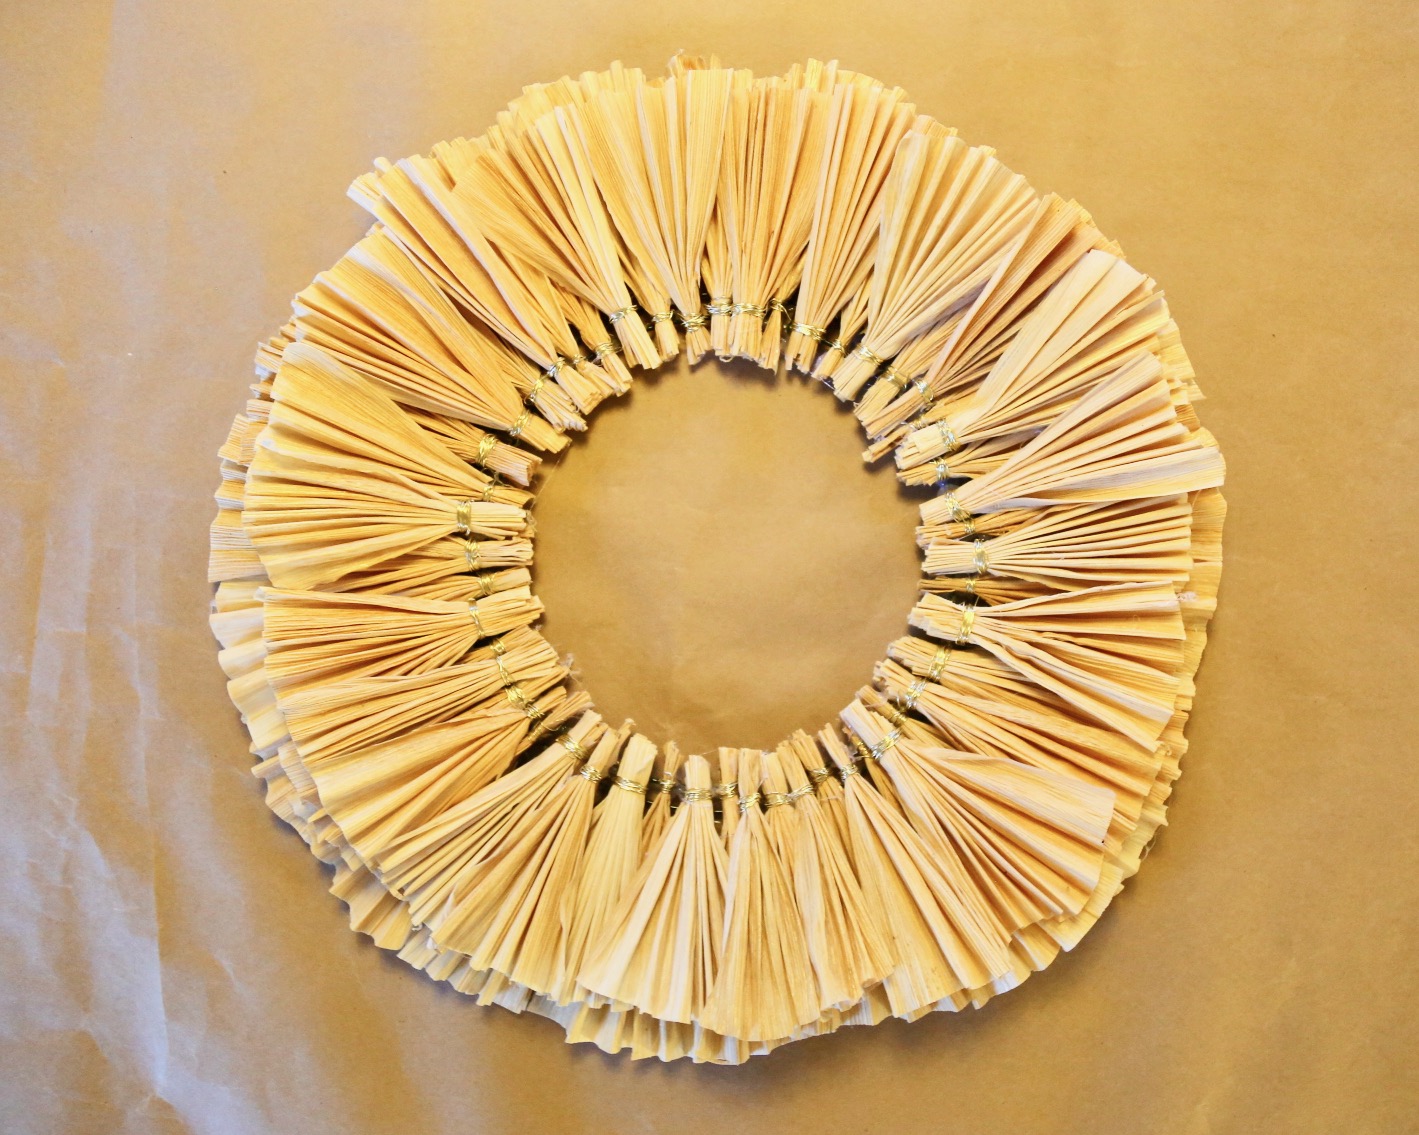
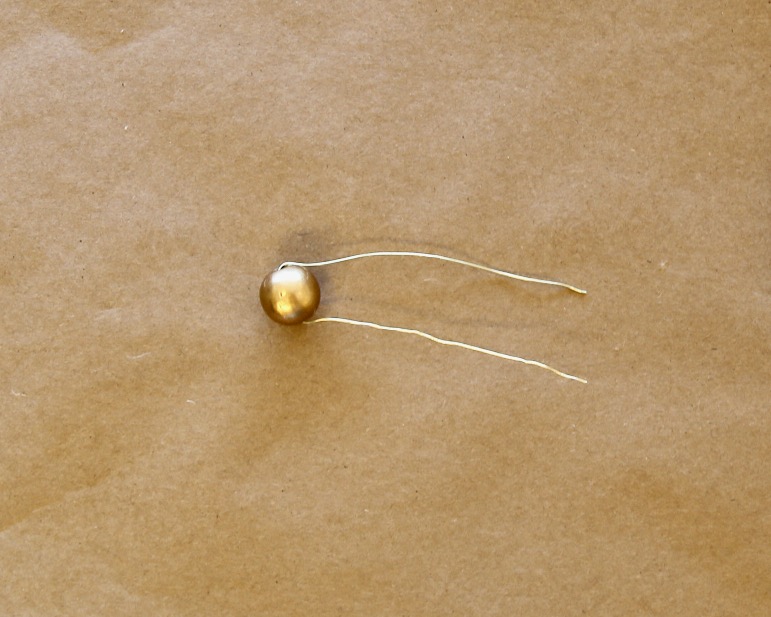
8) Add the beads with a length of floral wire. Place them on top of the wires on the first layer pieces between the bases of the second layer pieces. Push the wires through to the back and twist to hold them. Note that in the final version, I went back and covered the wires of the top layer pieces with raffia. I did not cover them in the bottom layer because the beads cover the wires.
9) Trim the rough edges (not too perfectly--just enough to make nice circular shape.
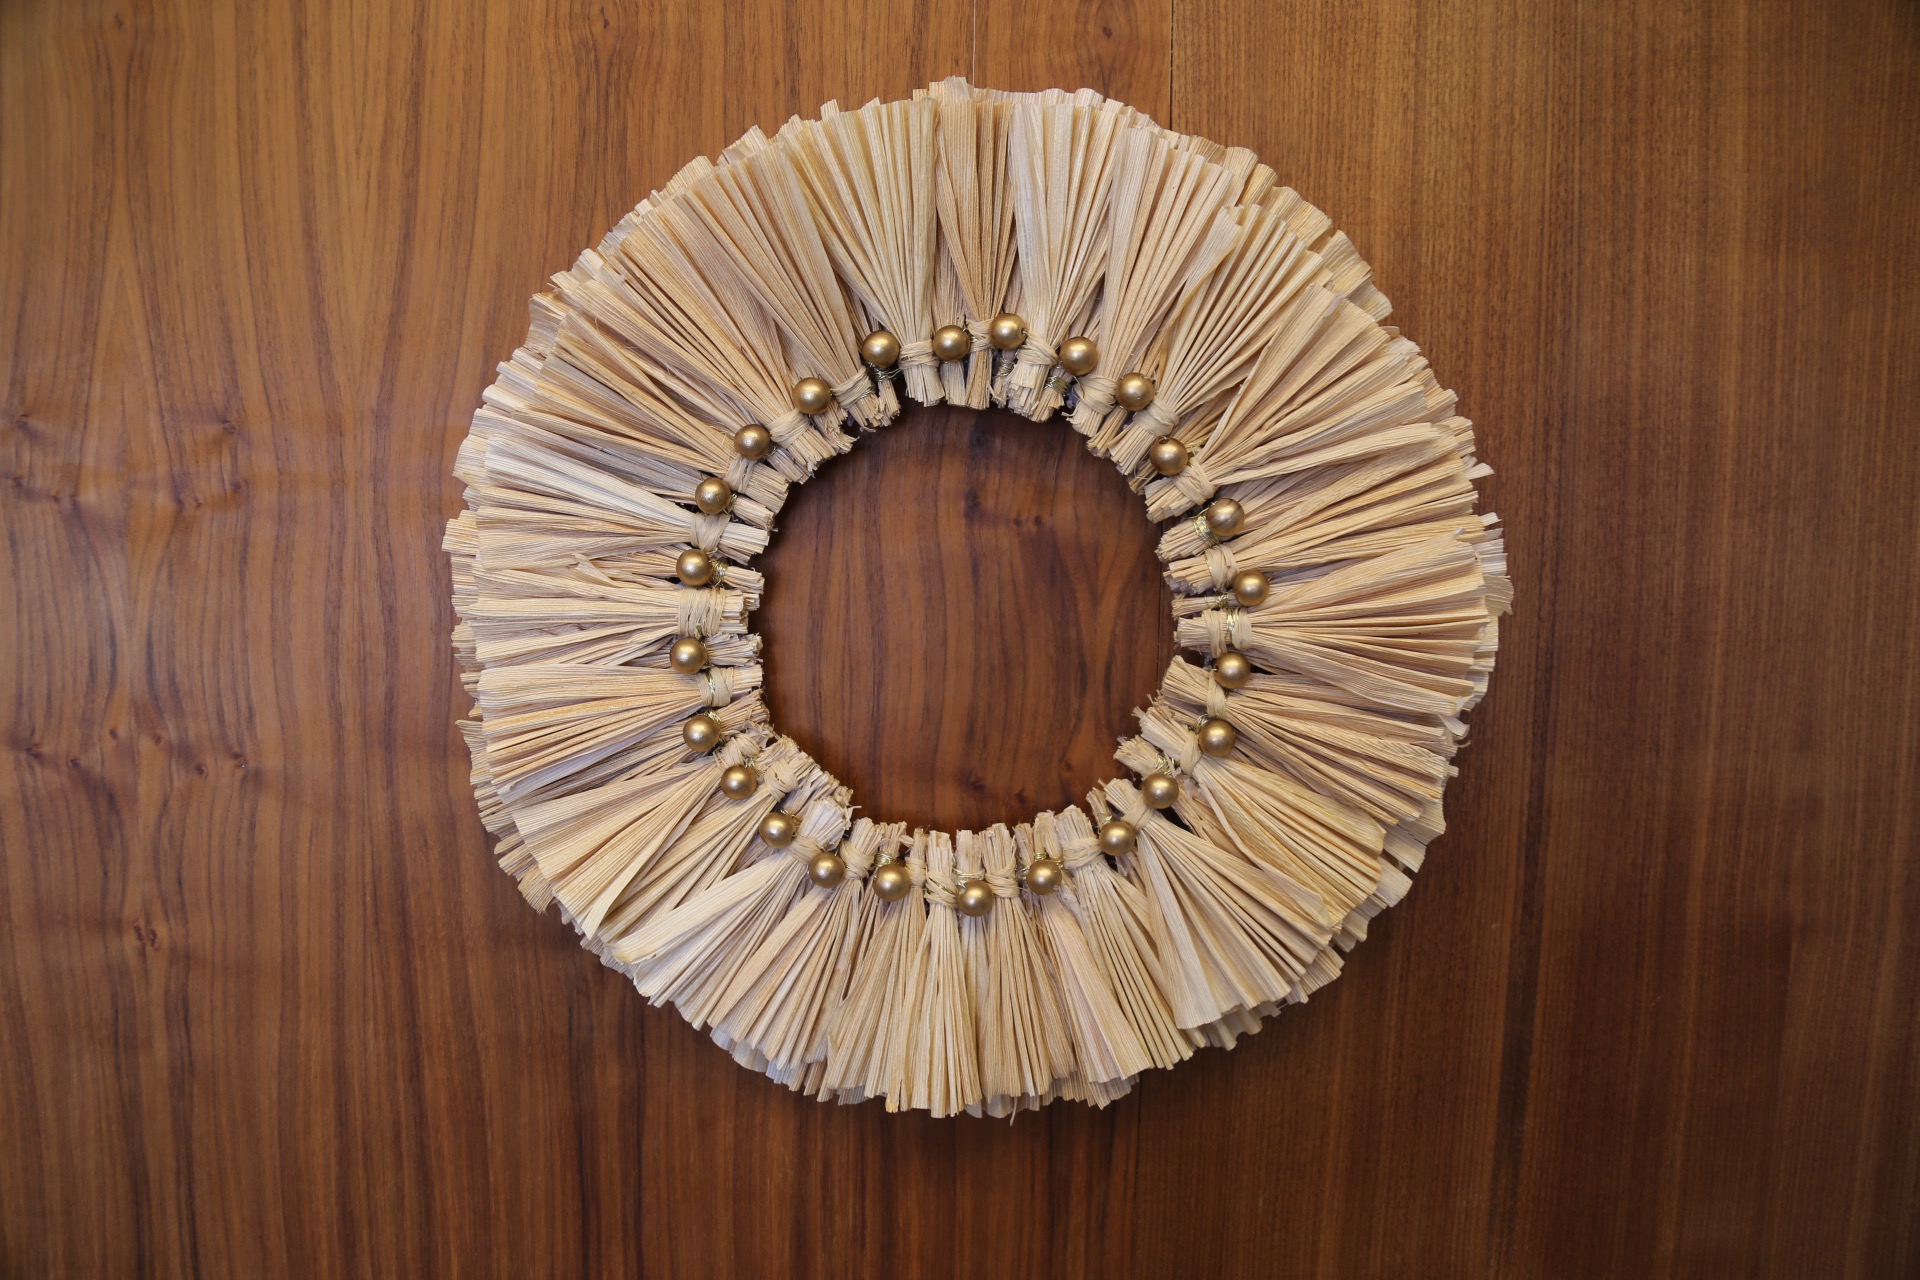
10) Hang it in a place of pride. For now it's in our showroom, but when we break for Thanksgiving, it's going home with me to hang on my front door!